Configure Easy Forms for Mailchimp
Update Mailchimp Key
- Log into /wp-admin of the website you are trying to update.
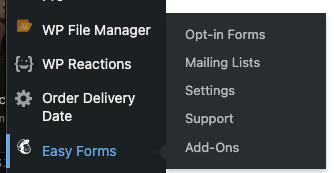
- Once you are on the admin go to Easy Forms -> Settings
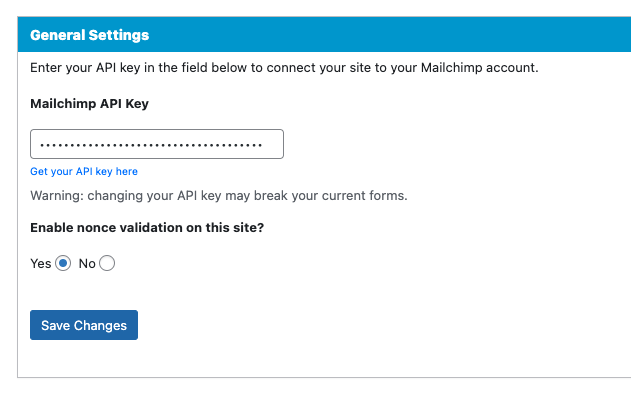
- Once you are on the settings you will see tha area to add API key
- After adding the API key you can just click on "Save Changes"
Create Footer Newsletter Form
- Loginto /wp-admin of the website you are updating.
- Once you are the go to Easy Forms -> Opt-in Forms
- If there are any existing Forms you can just delete them.
- On the right side of the page use the "Create a New Signup Form" widget
- Add the Form Name and Associate List (This list comes from the mailchimp key you added in previous step)
- Once you create you will be taking to the Form Page to Edit the New Form.
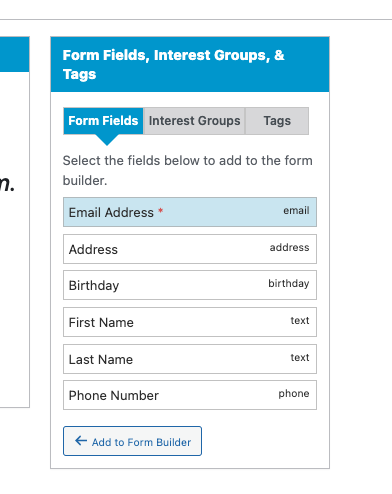
- Using the "Form Fields,Interest Group & Tags" widget. Select Email Address and "Add to form Builder"
- Once Email Address is in the form it has to be configured, here are the configs to follow.
- Paceholder: "Type your Email here"
- Additional Classes: "form-control"
- Hide Label: ✅
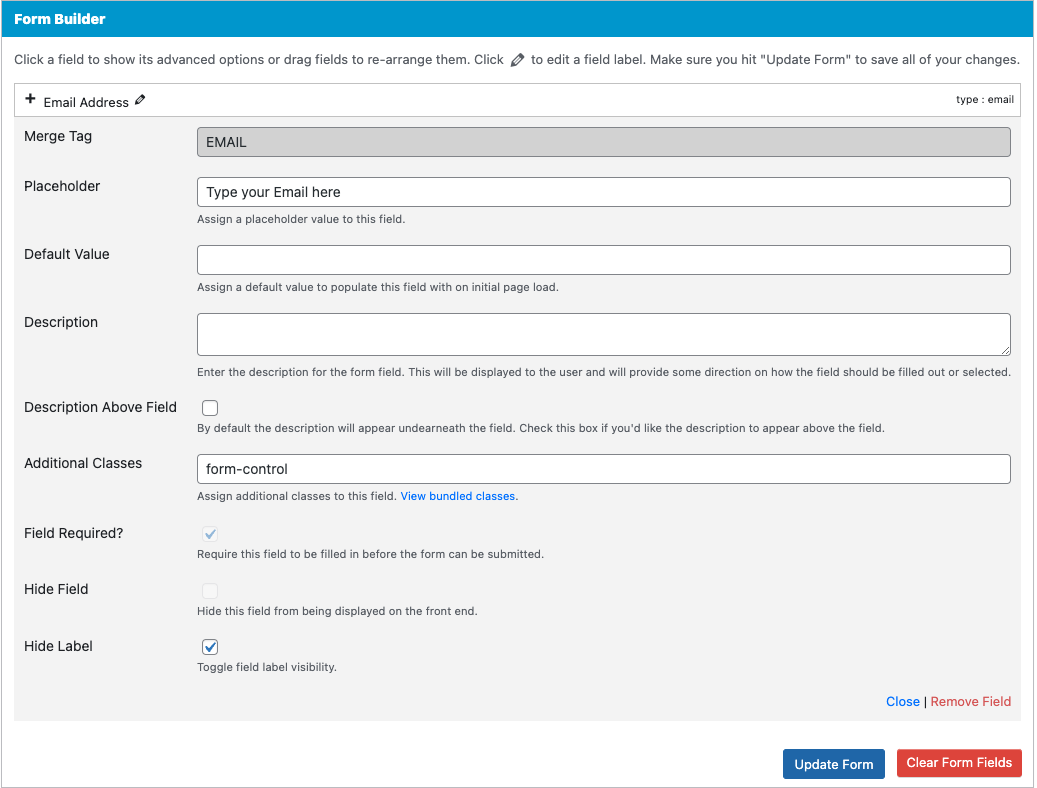
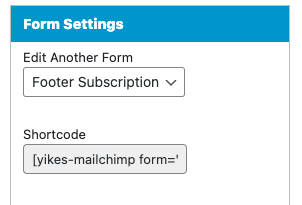
- Copy shortcode from "Form Settings"
Connecting Form to Footer Widget
note
Some websites will already have the footer shortcode installed, You wont always need to do this step
- Loginto /wp-admin of the website you are updating.
- Once you are on the admin go to Appearance -> Widgets
- Go to the Foorte Subscription widget section
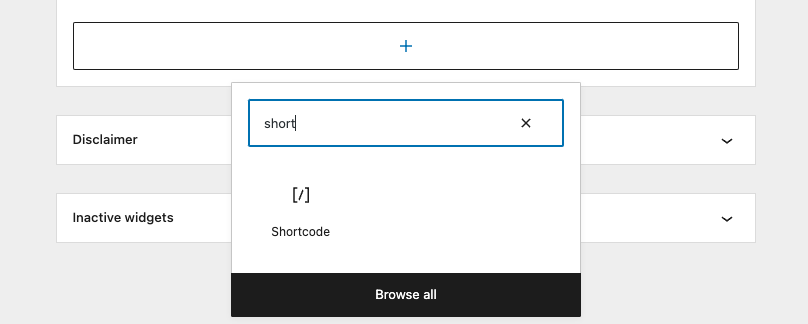
- Click on the + button to adda new block
- When you are asked select a shortcode
- Paste the shot code created during the
Create Footer Newsletter Form

Create Zipcode Form
- Loginto /wp-admin of the website you are updating.
- Once you are the go to Easy Forms -> Opt-in Forms
- If there are any existing Forms you can just delete them.
- On the right side of the page use the "Create a New Signup Form" widget
- Add the Form Name and Associate List (This list comes from the mailchimp key you added in previous step)
- Once you create you will be taking to the Form Page to Edit the New Form.
- Using the "Form Fields,Interest Group & Tags" widget. Select Email Address and "Add to form Builder"
- Once Email Address is in the form it has to be configured, here are the configs to follow.
- Paceholder: "Type your Email here"
- Additional Classes: "form-control"
- Hide Label: ✅
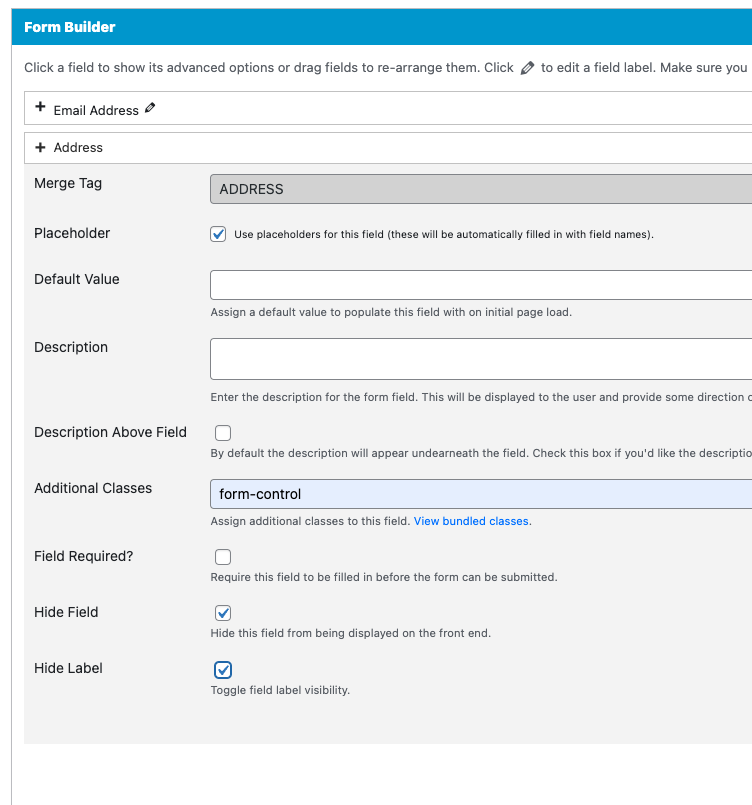
- Using the "Form Fields,Interest Group & Tags" widget. Select Email Address and "Add to form Builder"
- Once Address is in the form it has to be configured, here are the configs to follow.
- Paceholder: ✅
- Additional Classes: "form-control"
- Hide Label: ✅
- Copy shortcode from "Form Settings"
Add zipcode field to a Page
- Loginto /wp-admin of the website you are updating.
- Go to the Pages section on the admin
- Edit the page you are trying to add the zip form to
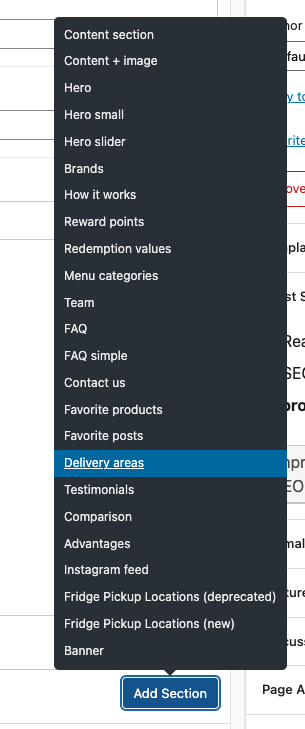
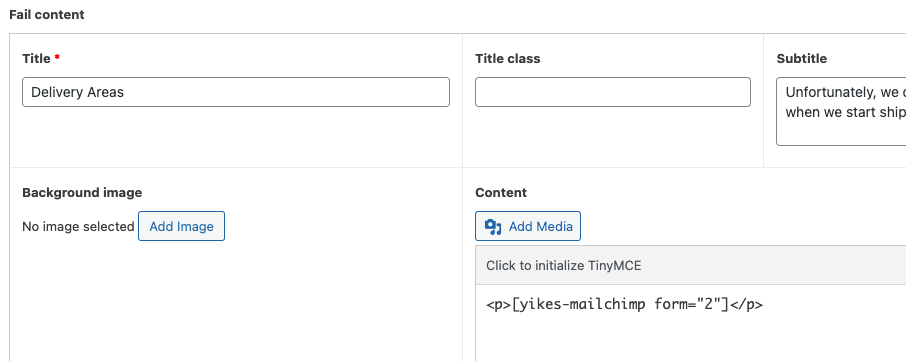
- Go the Sections of the page and add a new Delivery Area Section
- On the Fail Content paste the form code from the easy forms in the content section
- Once you save make sure to clear the cache to see the proper changes